
PLEASE NOTE – KITS WILL NO LONGER BE AVAILABLE STARTING SPRING 2024.
NW River Dories are provided as kits with all the wood and instructions you need to build a beautiful boat. This means that all of the panels are precision cut. You may have heard of lofting- the art / science of drawing patterns from plans: you don’t have to do that. You do still have a lot of putting pieces together, bonding, sanding, and finishing.
The kit comes with a set of materials to get you started. There aren’t blueprints or plans since everything is patterned and cut right on the plywood. You still get to do a lot (lots and lots) of woodworking and finish work, and craft a beautiful boat for floating wild rivers with your own two hands! While not particularly complex, these are still relatively large stitch and glue boats that will take time and care to build well. Here are some details on the kits.
The kit components include:
- Detailed construction manual (print and digital).
- Plywood panels pre-cut with precise dimensions and puzzle-scarf joints for easy alignment.
- Plywood or fiberboard building jig.
- Wood for gunnels and bow post – milled to dimension but without bevel or final scarfs cut.
- Fabricated aluminum oar towers with bushings for standard oar locks (oar locks not included).
- Recommendations (in manual) for the lamination schedule: eg how much fiberglass and epoxy to buy and how much to apply to various parts. I can also supply a full composites kit.
The Manual
The construction manual walks through the step by step directions for your NW River Dory with detailed renderings, photos, and tips. There is still some basic woodworking (cutting scarfs on the gunnels for instance), and a lot of laminating, sanding, and finishing! While this is a kit, it’s a relatively complex one when compared with the standard stitch and glue kayaks out there.
The manual also spells out a standard list of materials that you will need to purchase, tools, and consumables. The materials vary quite a bit from boat to boat. The tools and consumables vary a bit from project to project, but in general you need:
- Tools
- hand saw or jigsaw
- good random orbit sander or sanders (ideally with dust collection through a vaccum)
- hand plane and a sharpening system for it.
- a router – smaller is better, with a roundover bit and a top bearing flush cut bit.
- A metal square (ideally a small one and a large one)
- Electric drill and set of bits
- Wire cutters and vice grips
- Scissors (best are serrated shears for kevlar etc), sharp box cutter knife, xacto knife.
- Approx. 20 C clamps or similar (more is better, 40 is ideal).
- Consumables
- PPE (respirator at a bare minimum, tyvek suit is great for keeping your clothes nice)
- 10mil or similar plastic sheeting, at least 25′
- sandpaper 40-220 grit (hand paper and for random orbit)
- Brushes (chip and foam)
- Foam roller covers, roller frame, and trays
- 1″ coated decking or drywall screws (#6 coated decking work best)
- Wire for connecting the panels
- Mixing cups and mixing sticks
Construction
Your kit will come with a set number of plywood sheets (6mm, 9mm and 12mm thick) with boat parts cut out. In most cases, small tabs will still connect the parts for shipping. These can easily be cut with a small hand saw or oscillating tool and then shaved flush with a knife or sanded smooth.
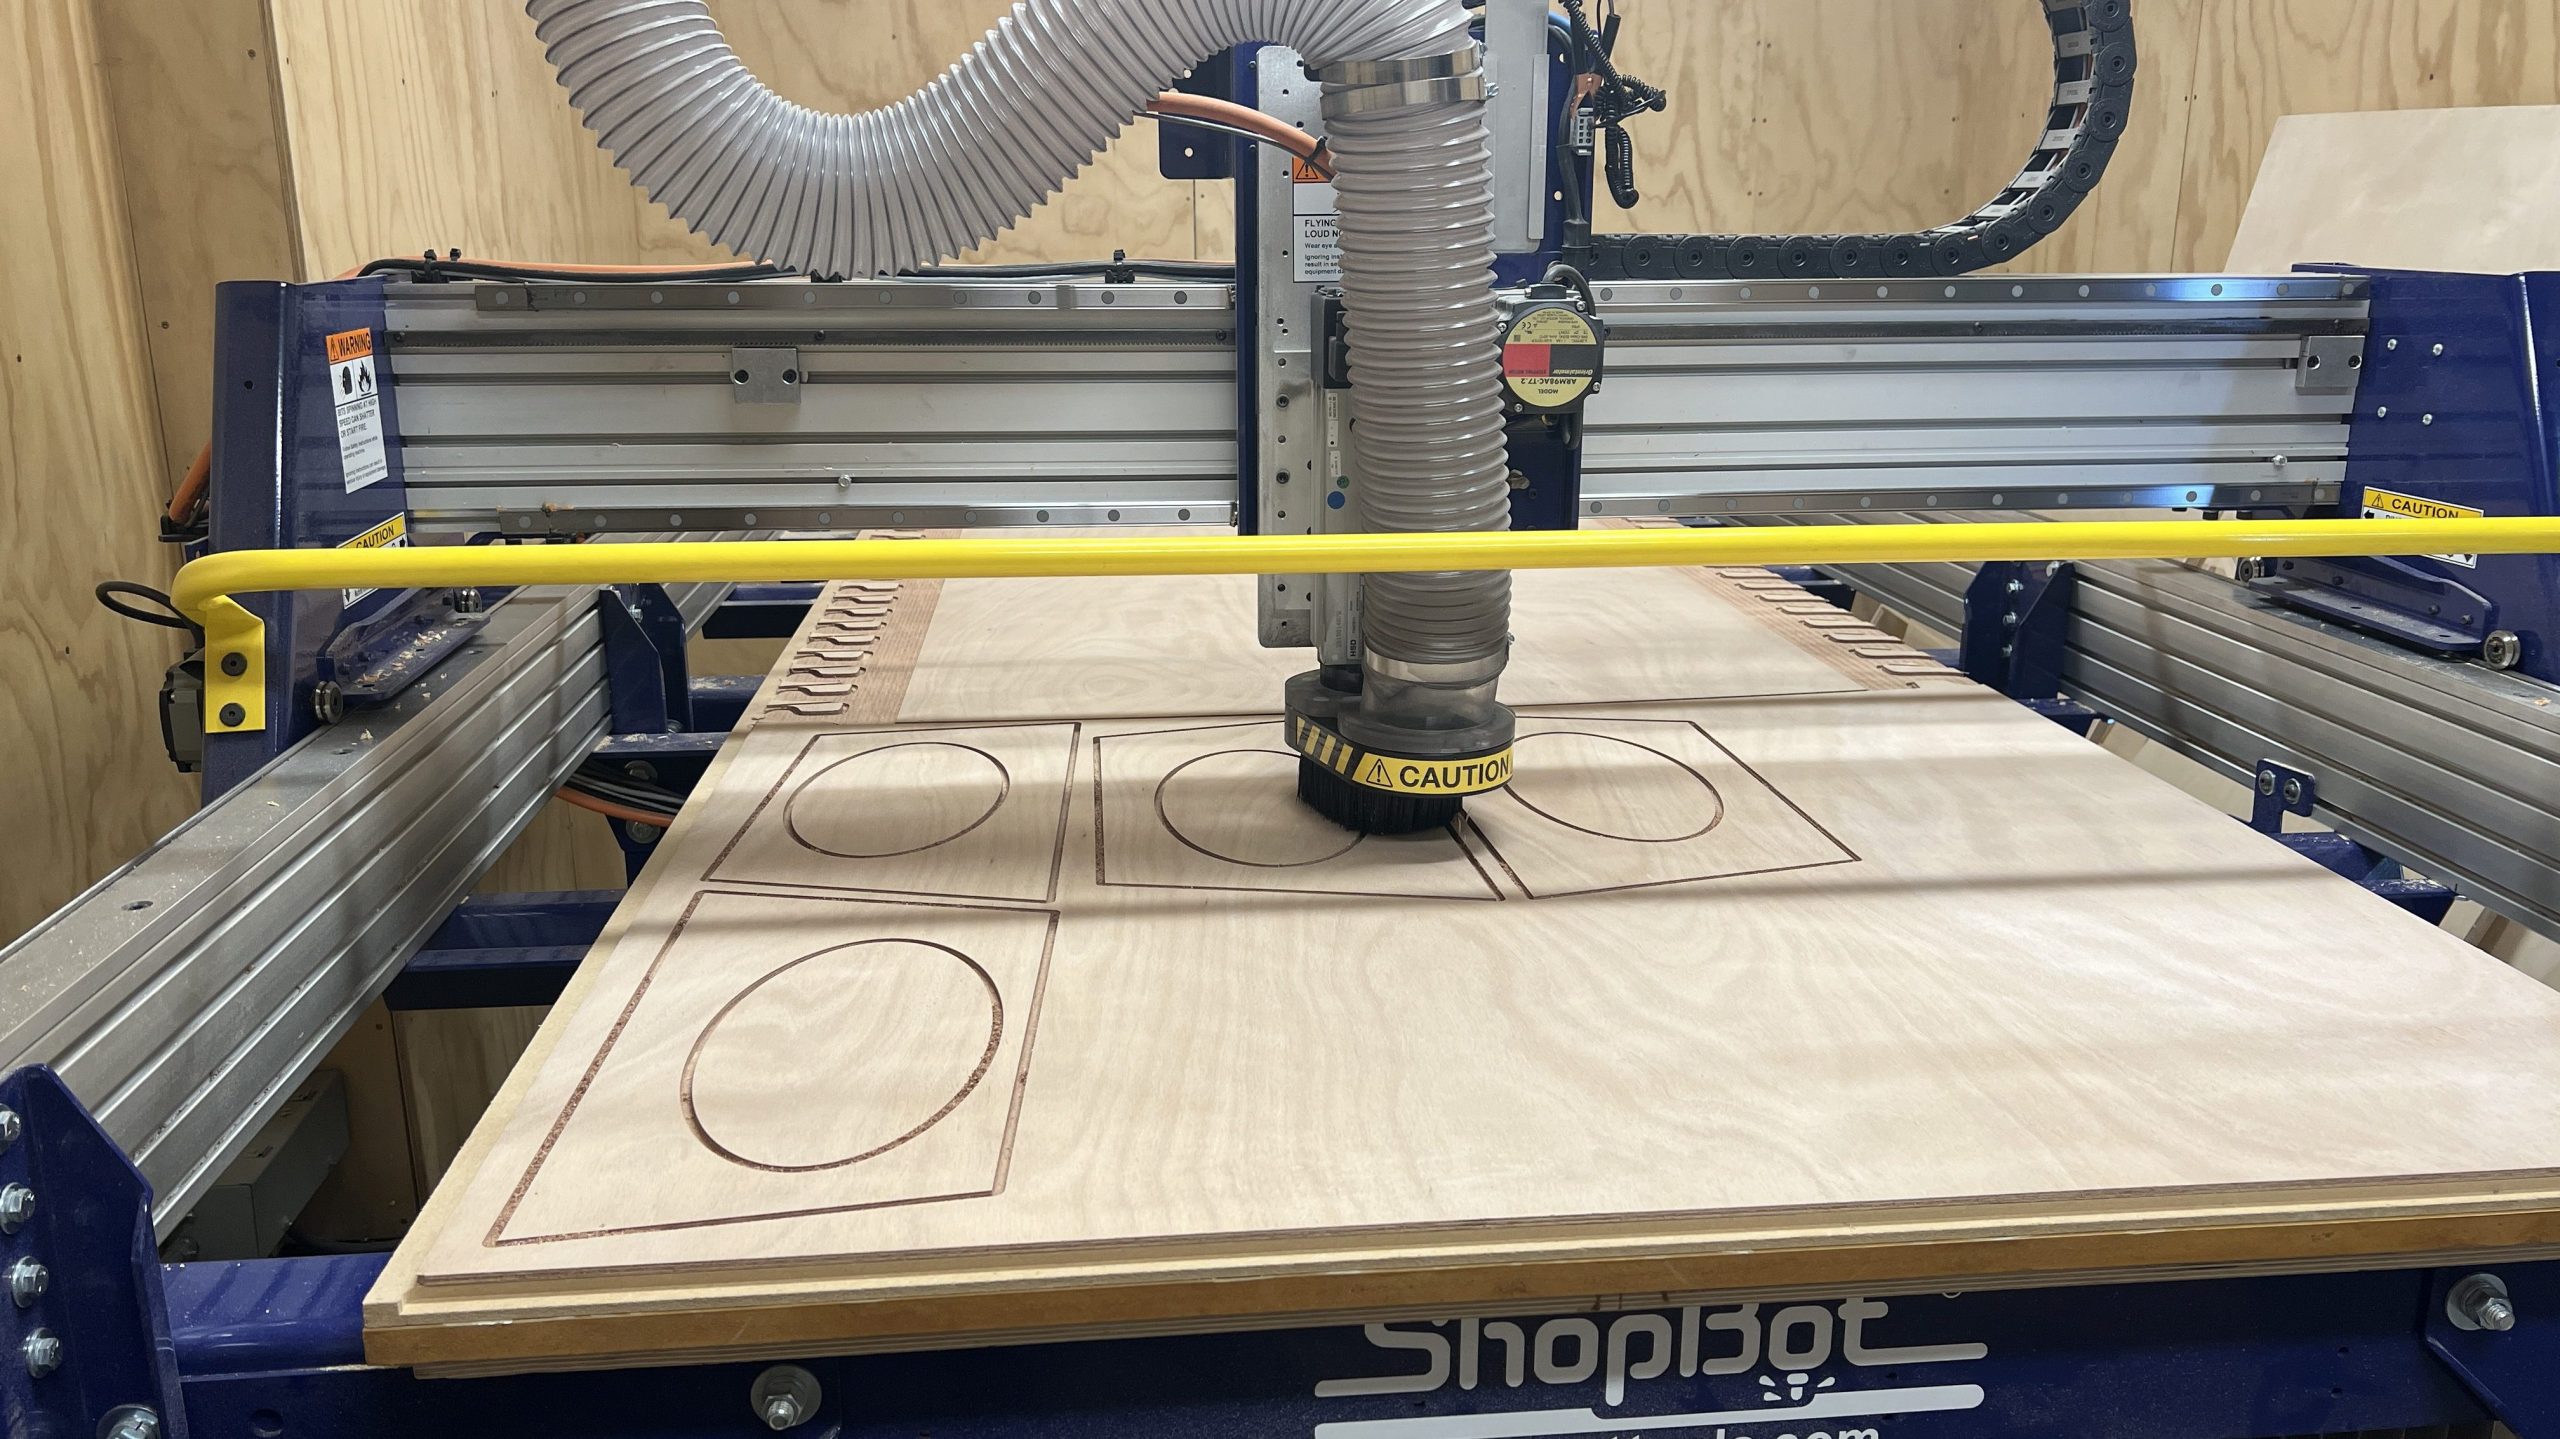
Panels that are larger than a 4×8 sheet of plywood are joined together with a unique puzzle / scarf joint. This looks like a row of waves on the inside and outside of the boat.
Whenever possible, you will pre-apply epoxy and fiberglass to the inside of panels prior to assembly. This is where the tables and plastic sheeting are very useful. Once everything that can be coated has at least partially cured, the hull is “stitched” together using wire. Small epoxy bonds are used to join these pieces, the wires are removed, and then a “fillet” of thickened epoxy forms what is effectively a weld between the panels, which is then covered with fiberglass tape. Each kit comes with pre-radiused epoxy fillet sticks, and the fillets that join the bottom to the sides for instance will be much larger than those joining a bulkhead to an interior reinforcement. Temporary screws join the bow post while it is glued in. Once cured and stable, screw and wire holes are filled with thickened epoxy.
The hull goes together shockingly quickly and sits on a building jig provided with the kit. This keeps the floor rocker profile correct and provides a stable and square work space. It locates the boat about knee height. With the hull together, bulkheads will need to be finished and bonded in, as will deck reinforcements, gutters for the hatches, and deck panels. The CNC kit cuts down on time dramatically for building the hull, but you still have a lot of bonding, sanding, finish, and installation work ahead of you.
Once you’ve finished the interior structure, it’s time to flip the boat over. Throw a boat party, get a handful of friends, and very carefully roll the boat upside down being careful to not break the area around the gunnels. It’s best to have more hands and keep the boat as fully suspended as possible. The gunnel area is fragile until the gunnel itself is installed- after final fiberglassing.
Once upside down, fiberglass and epoxy will be applied to the exterior of the hull. Between 20oz and 30+oz of fiberglass and other reinforcements go onto the floor, with some layers extending up the hull sides. We make a recommendation, but depending on where you use the boat you may be able to use less (save weight), or if you’re a real rock magnet, maybe a lot more. Exotics such as Dynel and Kevlar might be considered here. The bottom is finished with graphite powder mixed with epoxy and extended 4-6″ up the side of the boat, providing a slick finished surface. The sides of the boat receive fiberglass and epoxy, and depending on the finish, and will be sanded smooth for varnish or sanded and faired for paint. At this stage, fiberglassing should be complete. You may want to consider varnishing or painting at this stage- just be sure to keep the area where the gunnels are installed free of any finish.
Once the outside is complete the boat is rolled back upright (very carefully). The gunnels are installed, final fairing and sanding takes place, painting, and installation of fittings. These can include the floor drain hole and fittings, hatches and hinges / gaskets, hand holds, bow and stern D-rings, and oar towers. Some of these are essential, while others we leave up to the builder (eg. location and number of hatch latches, D-rings and hand holds).
Now it’s time to throw a real party, find a trailer, and get ready to launch. Don’t forget that you still need oars. We separately plan to sell a kit and plans for oars, but haven’t gotten there yet. Find some beautiful river for your inaugural float (ideally one without too many rocks), and make sure to send us a picture!
Have you gotten this far and are thinking about building one? It’s best to think about “what it takes” before getting too far. Some thoughts available here.
